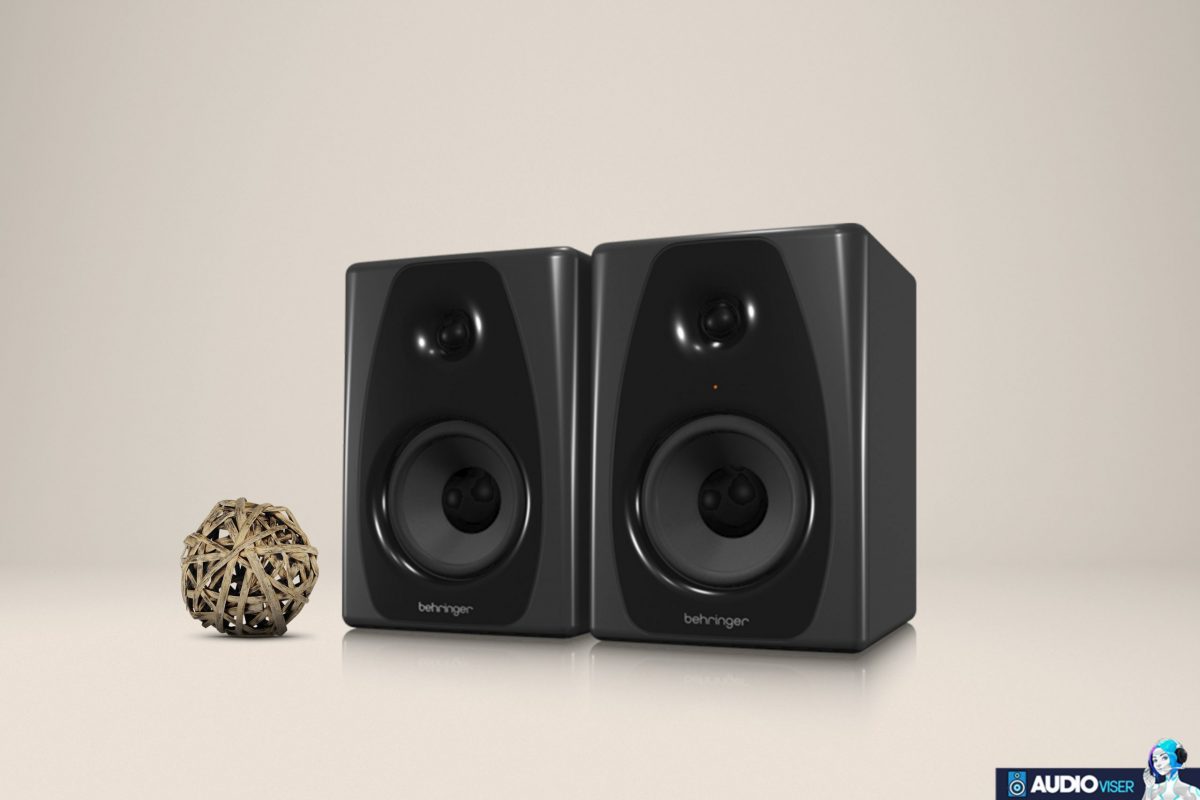
We are all aware of how important studio monitors are in the process of producing audio. Any studio setting should include a pair of these loudspeakers.
When it comes to mixing monitoring is arguably one of the most important things. I mean if you can’t hear the sound you trying to mix properly, what’s the point of it.
However, let’s return to the article’s main topic, which is calibrating the studio monitors.
It is essential to calibrate studio monitors before using them to mix and master an audio recording. Due to this, This post will explain why it is important to calibrate studio monitors and balance them based on the size of your room.
What Does It Mean To Calibrate Studio Monitors?
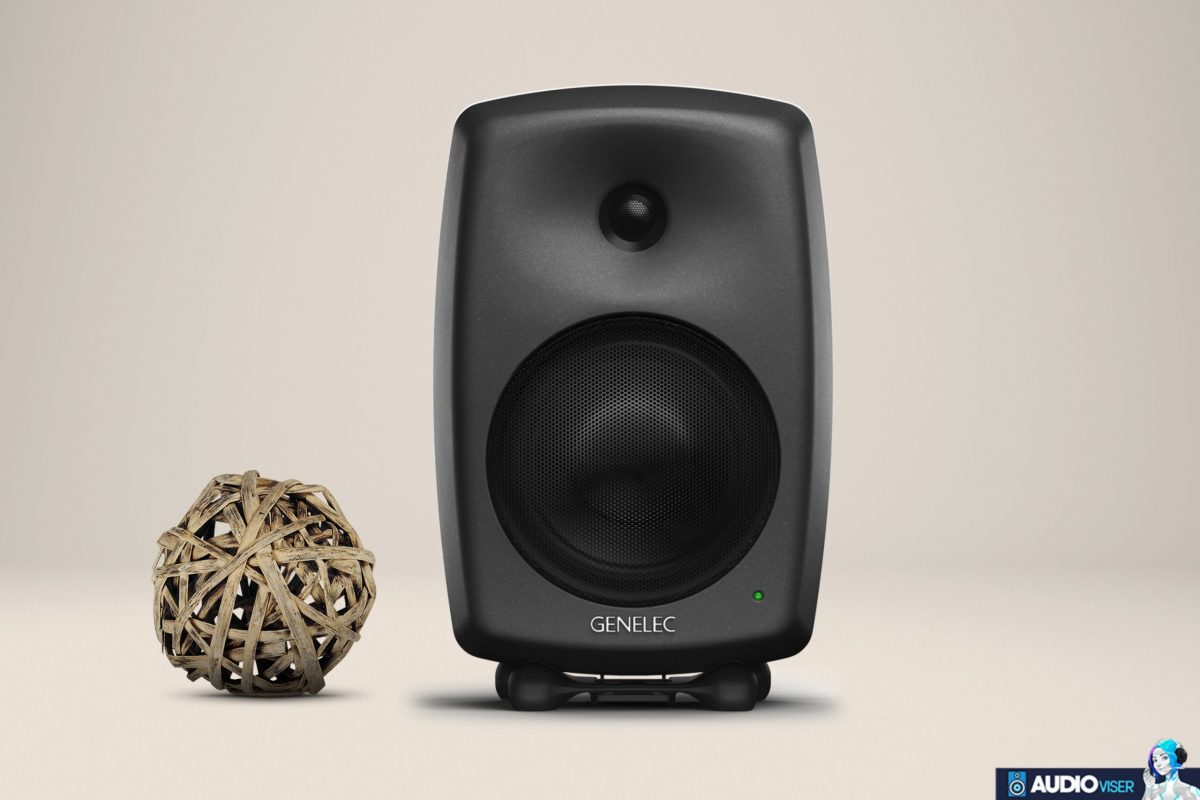
Before I start to explain how to calibrate studio monitors, I would like to define it and when to actually do it, so we all can know where we stand and understand the term better.
It is crucial to establish all the levels in your studio so that you are maximizing each component once you have properly positioned your studio monitors and listening position.
The sound waves from your tracks continue to travel past your brain and strike the room’s walls, floors, and objects when you play them through your studio monitors.
The primary objective of speaker calibration is to verify that the sound pressure level (SPL) in your studio listening environment corresponds to a designated metered audio level in your DAW or on your mixer.
By calibrating your studio monitors properly, you may reduce unwanted noise, boost reference capabilities, protect your ears from harm, and ensure that you can hear the audio as accurately or as neutrally as it was originally recorded.
If you were to leave it uncalibrated, your room would “deceive” you into adding EQ curves to your mixes in order to make up for the imbalance, which would affect your master’s balance.
There are three reasons why you should calibrate your studio monitors.
3 Reasons to Calibrate your Studio Monitors
Fixed Level of Reference
By calibrating your studio monitors you will adjust a fixed volume level for reference and this is a very good thing since you won’t have to tune the volumes every single time, your ears will accommodate the same volume levels.
Room Size and Adjustability
One of the most important considerations when calibrating a studio monitor is the size of the room.
It is recommended to calibrate monitors for small studios at 78 dB, whereas 85 dB is typically the right decibel level for large studios.
You may acquire a precise and accurate mix of your music by maintaining the monitoring levels in relation to the size of the space/room.
Frequency Range Exact Representation
We are all aware that not all studio monitors are represented equally.
To clarify, if you set the volume controls of the two monitors to the same setting, you might hear a level differential of between 0.5 and 1 dB, which would provide an incorrect stereo image.
How to Calibrate Studio Monitors
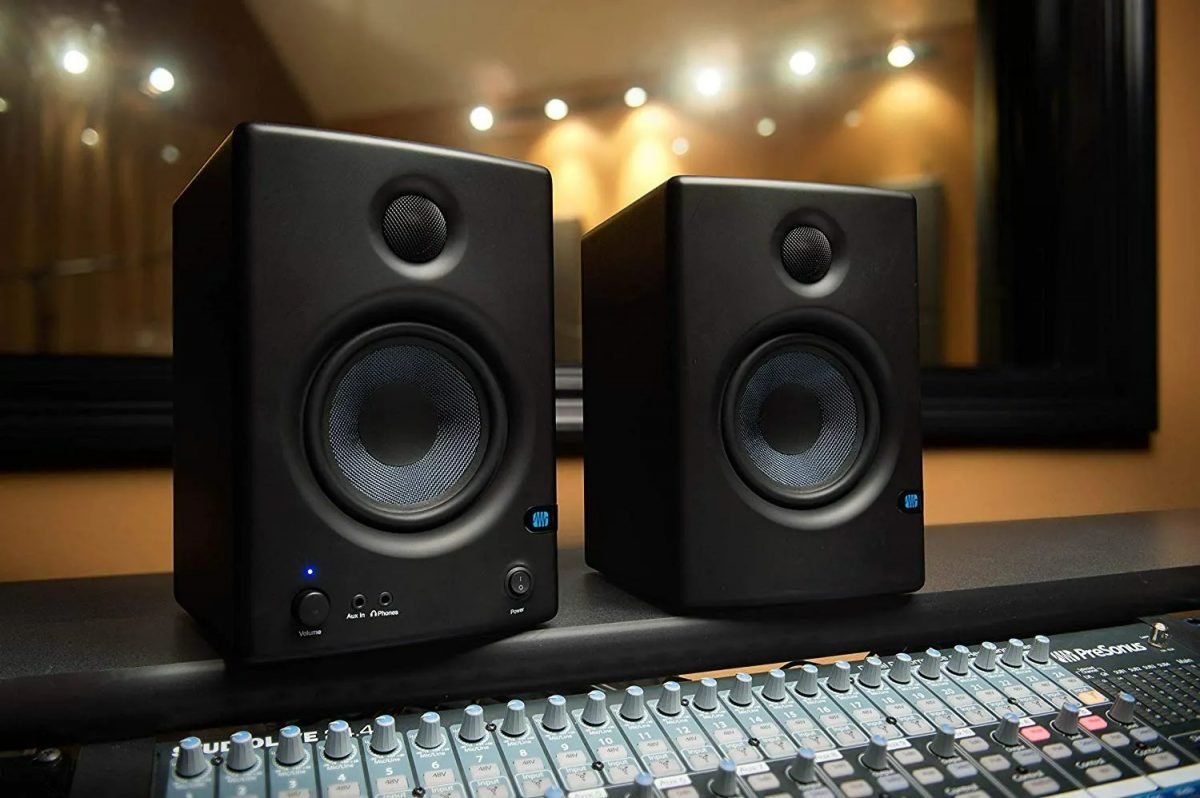
Before you start calibrating your studio monitors there are two things you need to make sure of.
- Sound Pressure Level (SPL) Meter ( You can also download a SPL meter app )
- Pink Noise (You just need an audio format of this, it is a tone that consist a frequency range at exactly the same level)
Once you have made sure that you have both of those “tools” ready, we can start with the calibrating process.
- Turn your studio monitors’ volume all the way down to zero first. The volume post is generally located towards the back of the monitor; wherever it is, make sure you turn it all the way down.
- The next step would be to locate the audio interface output and set its level to unity (0 dB).
- Go back to your SPL meter and set it to C-weighted and Slow Response.
- The next thing would be making sure that you have the SPL meter in a sweet post and a good listening position. If you are unsure of the proper positioning, you can search online.
- Now that everything is ready, play the pink noise tone that I told you to make sure that you have. Just make sure you play it with a peak of -20dB since it is the necessary output level for using pink noise to calibrate the monitors.
- Above I mentioned that 75dB and 85dB are the sound pressures that you need to get, so now for the last part just turn the volume up again until you get the sound pressure to 75dB or 85dB, depending on your room size.
FAQs: Studio Monitors
Is it a must to calibrate studio monitors?
Well, no one is forcing you to do so, I wouldn’t say it is a must, but it is something that you should definitely do. It will greatly improve your experience with them such us reducing unwanted noise and rewarding you with good mixing experience
Can studio monitors be placed on a desk?
It is certainly possible to put studio monitors on a desk without any issues, but it is certainly not the greatest approach to get the most sound for your money.
Do studio monitors sound better than speakers?
Both have their own uses, It is not something that you can put on the same spot, for example, studio monitors are speakers that are mostly used in the professional spectrum. A professional musician uses them to monitor the sound and they provide a flat sound that is neutral across all ranges, so the music comes out of them as it is normally is without any coloration.
Final Words
We pretty much arrived at the end of the article, and hopefully, I was clear to this point.
Studio monitors are great speakers that can be helpful in many ways, especially if you use them for professional work.
Calibrating them is another thing that should be done. While you can simply use them “out of the box”, you won’t get the best of them while mixing.
It is a short and easy process that doesn’t require anything groundbreaking, don’t hesitate to carry on with it.
Until next time, enjoy.
Further Reading
Let’s meet microphones a little bit. The Blue Yeti and Rode NT USB, Elgato Wave 3 Vs. Blue Yeti, and AT2020 USB+ vs XLR, are taking part in our unique series. You may not need a mic now, but who knows what the future will bring. Save them for later.
In case you want to check out something different like Focusrite and PreSonus audio interfaces.
Equipment Tester & Reviewer
I’m an unbiased audio equipment tester & reviewer, dedicated to keeping you up-to-date on the latest and greatest in audio gear.

