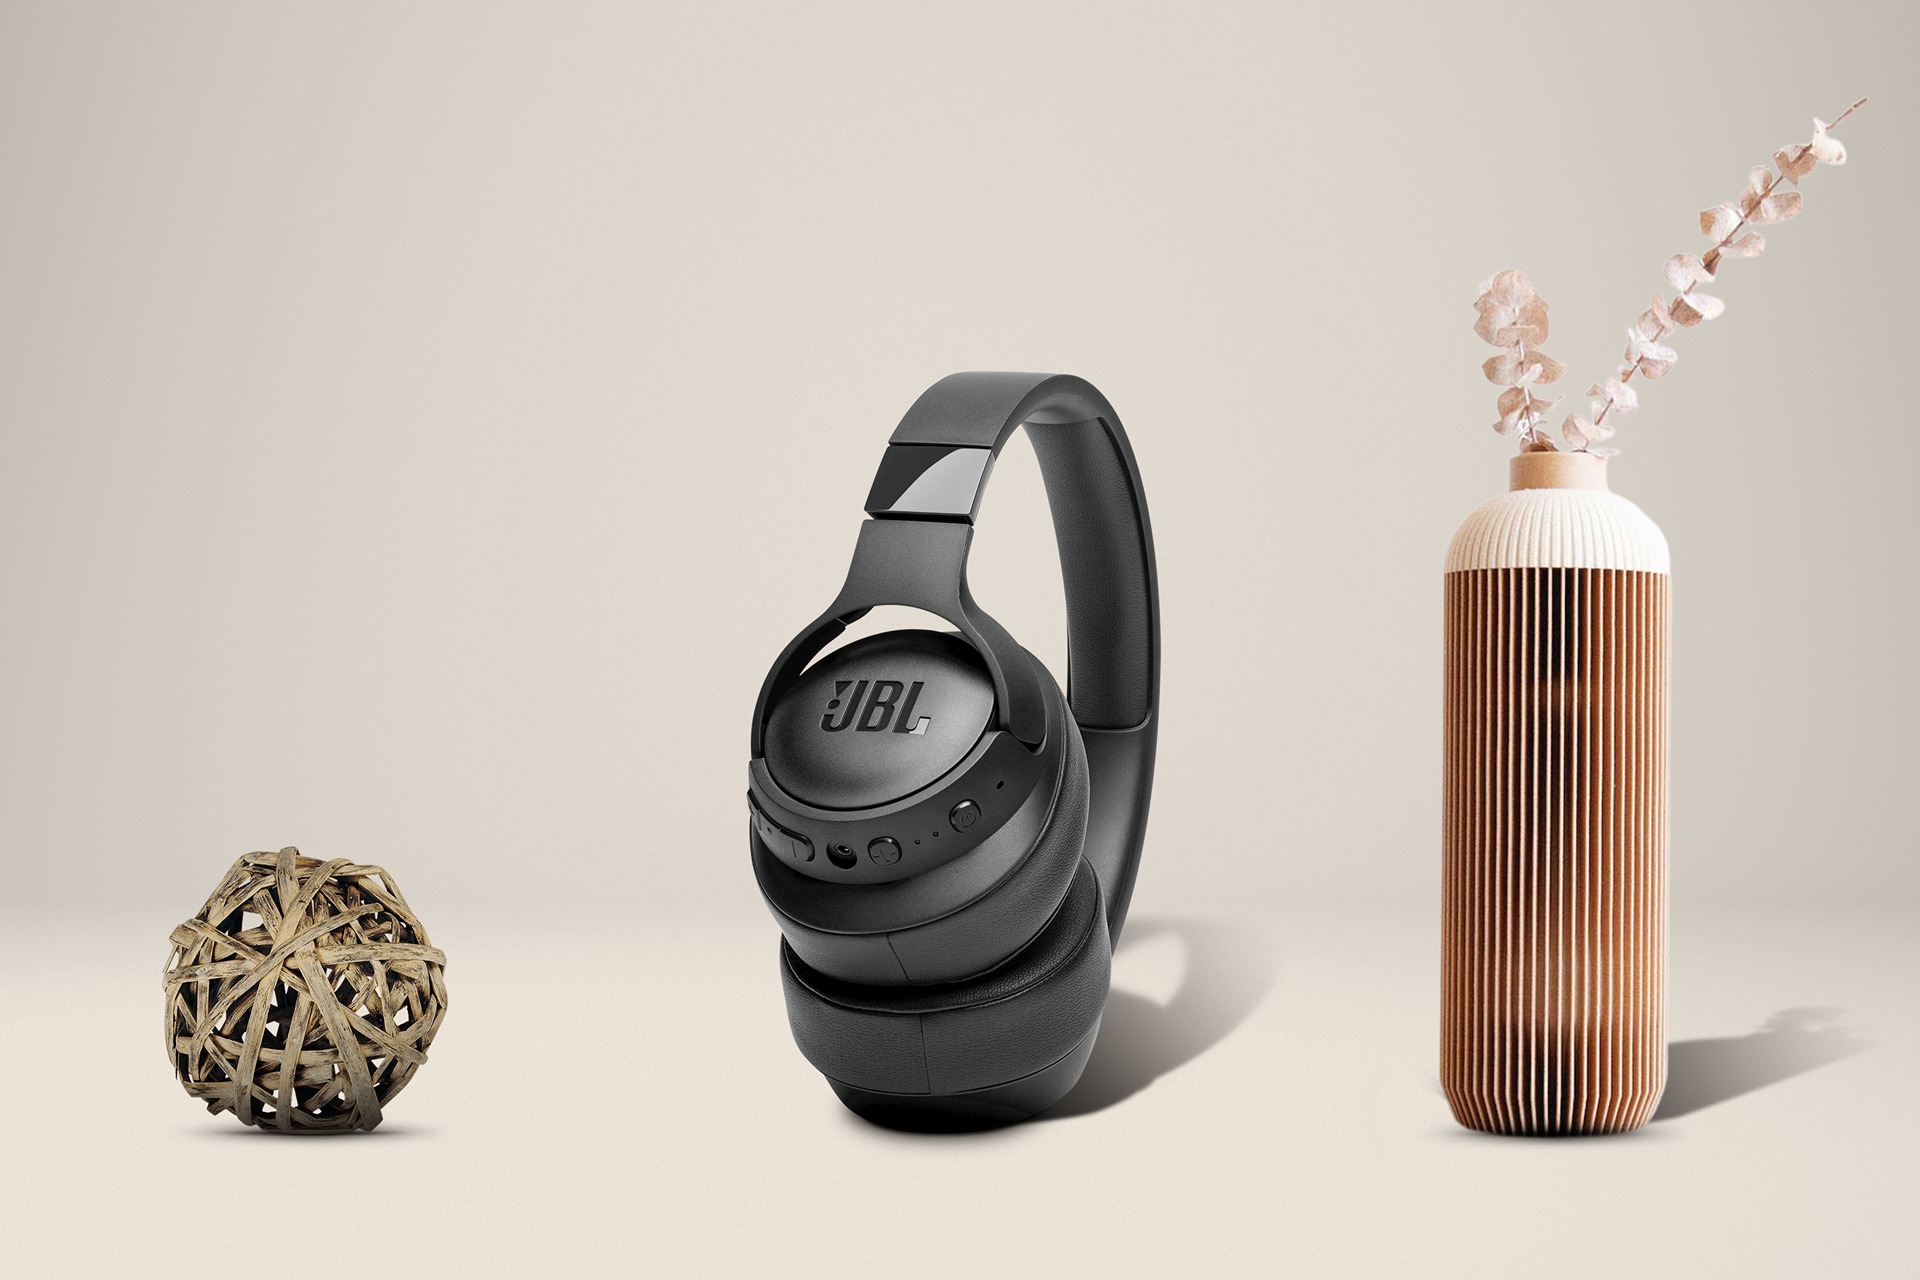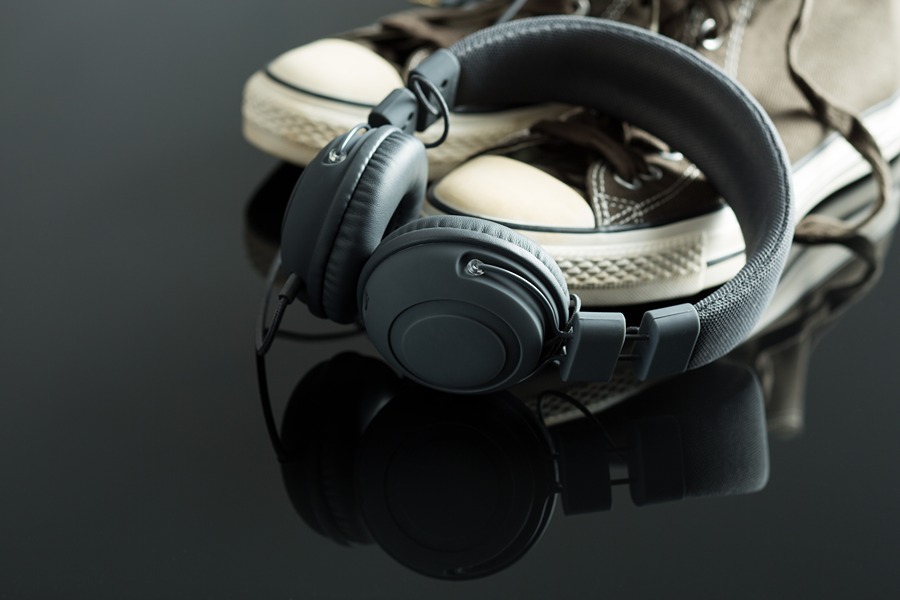
Hygiene is important my friends, I highly suggest you clean it properly for the sake of your own health. Avoiding cleaning will bring more issues like the headphones losing sound quality over time, your ear canal can get infected due to the ear wax, and many more.
Since headphones and human beings became inseparable, it’s time to clean headphone pads more often than before. Down below, I will be mentioning some tips and tricks on how to clean the headphones properly.
The solution is pretty simple and I’m asking isn’t better to clean the headphones from dirt, sweat, and dirty water than putting them on again and again without getting grossed out?
Why Should We Clean the Headphones?
First of all because of the hygiene. Since headphones are inseparable from our lives, cleaning them is a must. Besides, why not examine what’s inside the ear cups because as a biological process, our ears create earwax, and together with dirt, moisture, and dust, the headphones create a collection of those things to the point where you can end up with an infection.
As we shower and change our clothes every day or at least three days a week, headphones should be cleared with the same care.
In most cases, we put them basically anywhere we can reach easily such as bags, and pockets which is the dirt nest. So, to sum up, the answer to why we should clean the simply not to pay a visit to the doctor’s office.
Advantages of Taking Proper Care of Headphones
Taking good care of your headphones has many advantages. Read over some of these advantages below if they sound like a pretty wastage right now:
- Spend Less Money – If you take care of your headphone pads, they will last longer and you won’t need to replace them as frequently.
- More Convenient – If you take better care of your headphones, they will last longer and continue to provide you with the same high degree of comfort.
- More Sanitary – Over time, earphone cushions, whether full size, over ear headphones, or ear buds, will collect sweat, grime, and bacteria. This can be minimized by following the correct cleaning procedures, which will also stop your headphone cushions from smelling.
Stuff You Need to Keep the Headphones Clean
- A clean cloth/microfiber cloth
- Either rubbing alcohol or hand sanitizer
- Cotton buds
- Soap or detergent
- Warm Water
- Multipurpose adhesive
- Blue-tack (glue)
Let’s Get Started with Headphone Cleaning Process
Cleaning Headphones
Headphones require proper cleaning for the reasons we mentioned above like dirt, dust, and moisture mostly. Get a damp cloth and pour alcohol on the soft cloth and gently wipe the plastic and metal parts of the headphones.
If your headphone design is a little bit challenging to clean, you can use the cotton buds in places where the cloth can’t reach.
Cleaning Ear Pads
Cleaning ear pads are slightly more challenging, but no worries, it won’t even take 5 minutes to clean. Just follow these steps and it will be fine.
- Get the small glass dish and fill it in the half.
- Add the hand sanitizer, detergent, or soap to it.
- Make sure you mix them, so the cleaning tool you used spreads evenly.
- Start gently rubbing the headphones cushion which is mostly made of leather fabric.
- Get a cotton bud and dip it in the water a little bit, to clean the inside part of the ear pads for the places that are hard to reach.
- Leather Conditioner: Make sure you also use a leather conditioner on your leather pads because using a leather conditioner prevents any cracking or damage to the headphones, it will also extend its lifespan and at the same time it will keep them fresh just as when you bought them.
Did you know that ear pads are removable, if you didn’t, now you know? It’s perfectly fine to take them off and clean the inside parts of the headphones.
Some ear pads besides synthetic leather, are made out of velour fabric. This is where removing is a must. Imagine having like not black, but a different light color ear pads that can easily show the dirt. We don’t want to see the change of color over time, do we?
Take the ear pads off from the side. Here is the video representation of that in case you are confused about how to do it.
After you took them off, start the cleaning process.
- Get a bowl of glass or plastic and fill it with warm water.
- Add a block of soap or detergent to it.
- Mix, mix, mix.
- Put the velour earpads inside the bowl.
- Wait for like 10 minutes after you put the ear pads inside.
- With your hands, put some pressure on the ear pads to clean them properly.
- Keep rubbing harshly until you see the dirt coming out, or the water changes its color.
- Squeeze the excessive water (you may want to avoid that squeezing part in case you have lower-quality ear pads). The purpose behind squeezing is to fasten the drying process.
- Get another bowl of clean water, place the ear pads inside to rinse it and repeat the same squeezing process.
- Get a towel and gently press the ear pads with a towel.
- Leave them air dry completely.
Here is one more thing, if you have difficulty placing the ear pads inside the headphones after you took them off is to get a multipurpose adhesive to put them back on. Use as much as you want during the process. Measure how much you need with your eyes and act accordingly. Remember, don’t put too much of a multipurpose adhesive because you know, you will have to clean it more often.
Advanced Cleaning Method
If you want super clean headphones, just like the first time you got it. I would high suggest you get a Hearing Aid Vacuum Cleaner. It is specifically designed to get rid of debris, dirt and moisture in electronic devices and instruments.
Summary
Here you had the quickest cleaning process for headphones. Please clean them at least three days a week to avoid ear infections. Yes, getting an ear infection from dirty headphones is possible since we leave them anywhere without care after we need to take care of this dirt. Even though you’re careful about the hygiene of the headphones, earwax is impossible to avoid.
Just pouring alcohol on a damp soft cloth and rubbing the headphones all over will be fine. For ear pads, you repeat the same rubbing process, or if the fabric is velour, you have to take them off and clean them with warm water and detergent/soap.
Further Reading
Once you’ve seen what this excellent Dialogue Speakers has to offer, continue on to another post where you may locate the newest EDM speakers by just reading this one.
If you enjoy what you read, keep reading this post where we’ll show you the greatest over-ear headphones for those on a budget. Here are some amazing Koss headphones that are worth buying.
Equipment Tester & Reviewer
I’m an unbiased audio equipment tester & reviewer, dedicated to keeping you up-to-date on the latest and greatest in audio gear.

