Hey, so you’ve come across the term ‘powered studio monitor’ and are wondering what’s the deal with it, right?
Well, it’s no rocket science but rather the heartbeat of your music production game. Let’s unravel this tech beast together. You’ll get to understand how these monitors add that extra zing to your audio, the main features you should keep in mind when picking one, and some handy tips for setting it up to get the best output.
Get to know the upsides and downsides, and equip yourself to make an informed choice for your sound requirements.
Ready to dive in? Let’s get to it!
Basics of Powered Studio Monitors
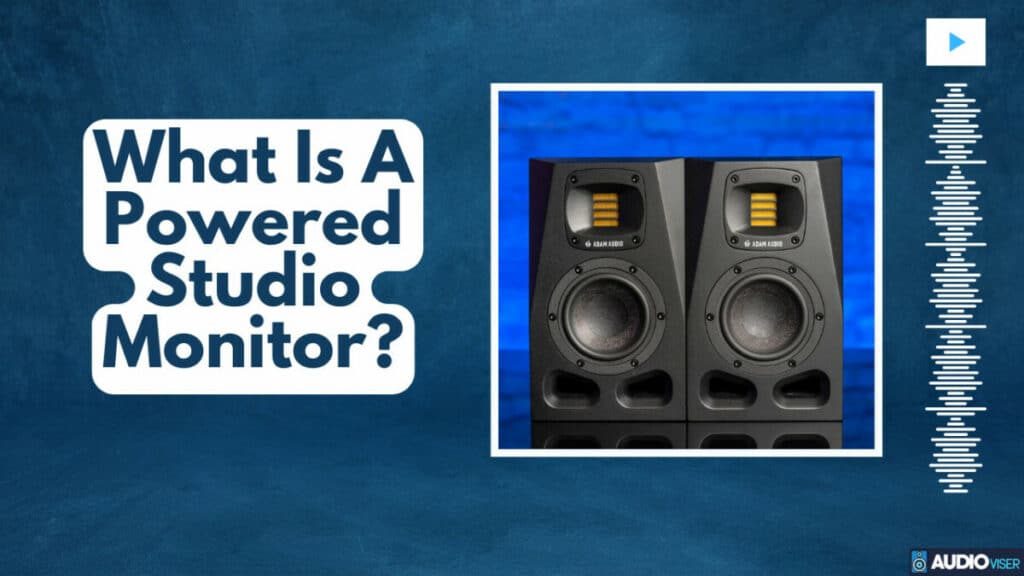
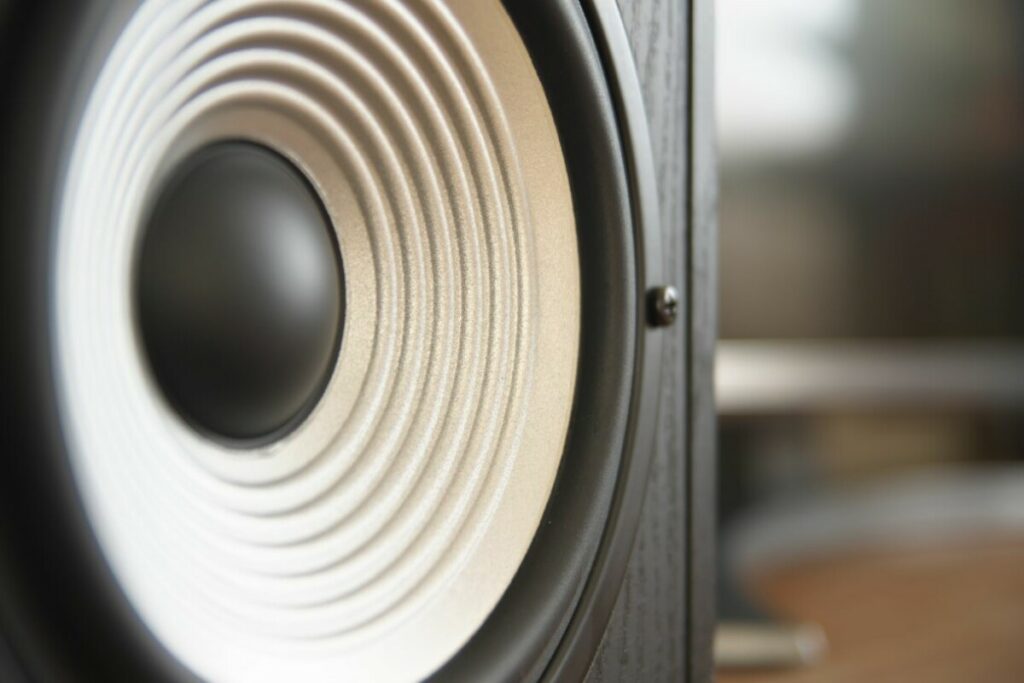
Powered studio monitors come with their own built-in amps and are designed to give you the clearest possible sound for those all-important studio sessions. In contrast to
Now, let’s chat about where to place these bad boys and what the heck frequency response is.
The spot where you set up your monitors makes a huge difference to the sound you’re going to get. It’s all about how the sound waves bounce around your room. The sweet spot? Try to aim for your ear level and set them up in a triangle with your listening spot. It helps keep the sound distortion to a minimum.
Now, onto frequency response. In simple terms, it’s about how well a monitor can play back every frequency in your audio content. You want a flat response, that’s studio speak for a well-balanced and uncolored sound of your mix, it’s super crucial for making those tiny tweaks.
With this knowledge in your back pocket, you’re all set to take your audio setup to the next level.
The Technical Specifications of Powered Studio Monitors
When you’re scouting for the perfect studio monitor, don’t just zero in on the size or the power it’s packing. There’s a whole lot more to it. You should keep an eye out for things like frequency response and total harmonic distortion, not to mention the kind of inputs it’s compatible with.
- Getting Connected: The first thing you gotta figure out is what kind of inputs your monitor can take. Keep an eye out for things like XLR, TRS or RCA inputs. You want to make sure they’re gonna jive with your audio source.
- Frequency Response: This is basically how many different sounds your monitor can make. The bigger the range, like say 20Hz-20kHz, the better the sound is gonna be.
- Total Harmonic Distortion: This one’s a measure of how accurately your monitor can reproduce sound. A smaller number here means less distortion and a clearer sound.
The Role of Powered Studio Monitors in Audio Production
As you dive headfirst into the world of audio production, it won’t take you long to hit upon the critical part powered studio monitors have in the game. They’re far from just being speakers; they’re your lifeline when it comes to crafting, tweaking, and perfecting your sound.
They’re your secret sauce to getting that accurate, unaltered playback of your audio, providing you with the surgical precision you need to make your work pure gold.
Quality Sound Production
So, let’s dive into how you can pump up your audio quality:
- Sound Calibration: First things first, you’ve got to tune your monitors to vibe with your room. This means tweaking the volume, delay, and EQ settings to harmonize with your specific surroundings.
- Acoustic Treatment: This is all about giving your room a makeover to boost its sound quality. You might need to add some absorbers or diffusers to keep the echoes and background noise in check.
- Monitor Positioning: Make sure your monitors are placed correctly to dodge phase cancellation and to maintain a balanced stereo image.
Just remember, powered studio monitors are just tools in your kit. It’s all about how well you use them that really sets the tone.
Monitors in Mixing
When it comes to mixing, your speakers are the real MVP. Your studio monitors, in particular, are the game-changers. Where you place them and how you isolate them can make or break your sound.
Let’s break it down. First, the placement. To nail that perfect sound, your monitors need to be positioned just right – think ear level, forming a perfect triangle with where you’re sitting. It’s all about that stereo balance.
And then there’s isolation. You know how your speakers can get all vibey and cause a bit of a ruckus? That’s where isolation comes in. Using pads or studio monitor stands to separate your speakers from whatever surface they’re chillin’ on can help cut down those pesky vibrations and seriously up your sound quality game.
Key Features to Consider When Choosing Powered Studio Monitors
Alright, let’s talk about choosing the right powered studio monitors. Trust me, it’s not just about grabbing the first shiny one you see. There’s a whole load of factors you need to keep in mind.
You gotta think about the frequency response, size, total harmonic distortion, and, of course, the price tag. And don’t forget about durability – you don’t want these babies giving up on you too soon, do you?
So, let’s break it down:
- Frequency Response: This is all about how well the monitor can reproduce the sound without adding any unnecessary flavours. You want something that’s gonna give you a clear, uncoloured sound across the full frequency spectrum. No fake news here, please!
- Size: Bigger isn’t always better, but when it comes to monitors, it kinda is. A larger size means better low-end frequency, but remember, you gotta have the space for it. So, pick a size that fits your studio without making it feel claustrophobic. Also, consider whether studio monitors are good for home stereo before making a choice.
- Total Harmonic Distortion (THD): Lower THD equals less coloration and more accuracy in sound reproduction. In simple terms, it’s the difference between hearing ‘I love you’ and ‘olive juice’.
Setting Up Your Powered Studio Monitor for Optimal Performance
Congrats on snagging that awesome new studio monitor! Now, let’s get down to business and ensure it’s serving you with the best performance possible. The placement of your monitor and the acoustics of your room are crucial, so let’s dive in.
When it comes to Monitor Placement:
- Make sure your monitors are on the same level as your ears. It’s all about balance.
- Keep your monitors the same distance from each other as they’re to you. Math never sounded so good.
- Point your monitors towards where you’re mixing up your magic. It’s all about the angles. Ensure you’ve also considered the nuances if you’re setting up with a turntable, understanding if studio monitors are good for vinyl can make a difference.
- Resist the temptation to put your monitors right against the walls. They need their personal space too, you know!
- Corners are a no-no for your monitors. Think open spaces.
As for Room Acoustics:
- Steer clear of rooms with glass walls or super hard surfaces. They’re just not sound-friendly.
- Bring in some diffusers and absorbers to keep those reflections in check.
- Don’t be afraid to move your furniture around to disrupt any standing waves. It’s like a game of musical chairs!
- Put some bass traps in the corners to keep those low frequencies under control.
- A good rug or carpet can work wonders for sound absorption. Plus, it makes the room cozy.
The Pros and Cons of Using Powered Studio Monitors
The excitement of unboxing and setting up new gear is undeniable, but it’s worth taking a step back and considering the pros and cons of using powered speakers in your workspace.
First up, let’s talk about durability. Powered monitors have built-in amplifiers, so there’s no need for extra gear. This not only simplifies your setup, but it also means less potential for damage, making your monitors last longer – pretty neat, right?
Next, we’ve got sound quality. These bad boys are engineered to work seamlessly with their built-in amps, giving you super clean, precise sound. If audio quality is your thing, these monitors are a no-brainer.
Finally, let’s chat about cost. Yeah, the initial price tag on powered monitors can make your wallet weep, but think about the long game. You get to skip buying separate amps, which saves you some serious cash down the line.
So, when you’re deciding on the right audio equipment, consider your specific needs and budget. It’s all about finding that sweet spot between what you want, what you need, and what you can afford.
Just remember, don’t rush your decision – take your time and choose wisely.
Conclusion
Don’t sweat it if the thought of setting up powered studio monitors seems a tad daunting. Yeah, it requires a bit of effort, but trust me, the payoff is totally worth it.
You get to experience audio like never before, catching every tiny detail and bringing your sound production to life. So, it’s not just about hearing, it’s about proper listening.
Get ready to be blown away by the clarity, richness, and precision these bad boys deliver. You’ve got the power, now it’s time to boss your sound.
Sound Technician
I’m a sound technician, ensuring that your events and shows are heard loud and clear. Crafting audio broadcasts, studio recordings, and live mixes with finesse to provide the best quality sound experience.

